|
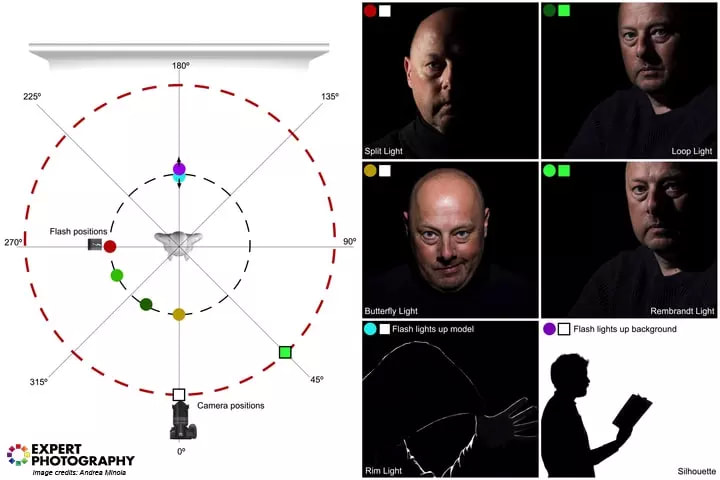
Every portrait lighting setup creates a distinct light pattern on your model. This depends on the specific position of the light relative to the model’s nose.
The position of the camera will affect the face lighting-to-shadow ratio. |
Rembrandt
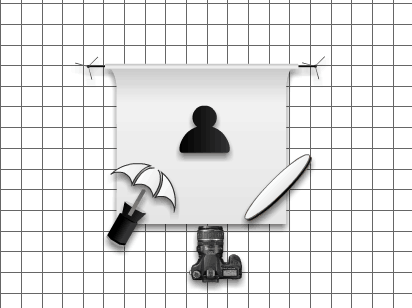
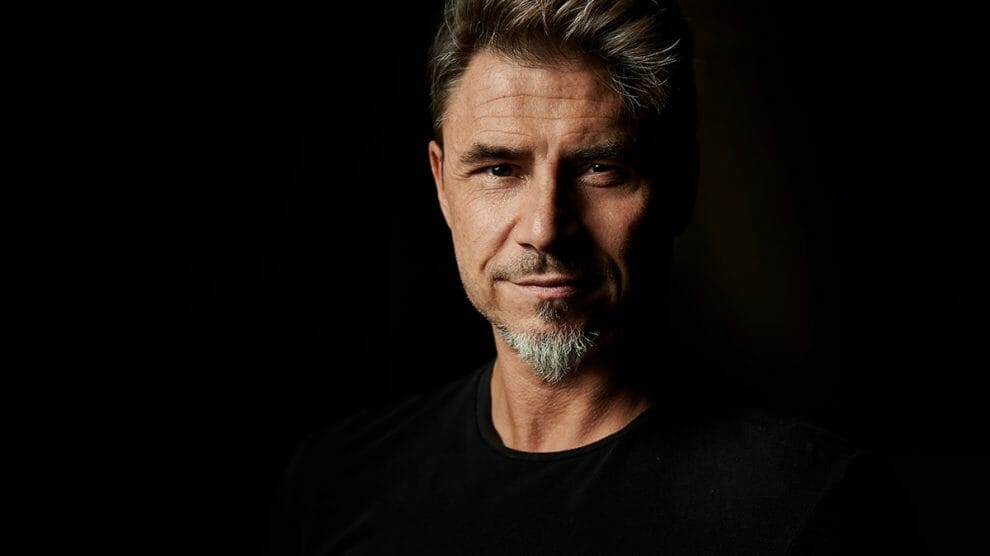
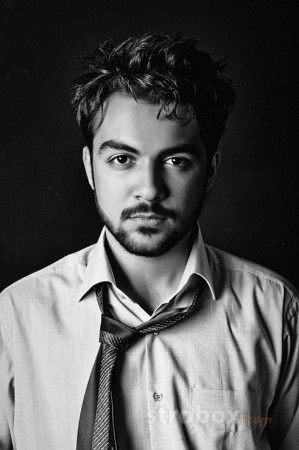
Rembrandt lighting is typically identified by the triangle of light on the cheek that is furthest from the light source. The shadow of the nose and cheek meet which creates the small little triangle of light in the middle. Technically, the triangle shadow should be no wider than the eye and no longer than the nose. The thing that distinguishes Rembrandt lighting from simple short lighting is this triangle of light.
However, there is more to Rembrandt Lighting than just this triangle. It is a very specific style that places approximately half of the subject's face in some shadow compared to the other side. It is on this shadow side that the aforementioned triangle appears. This style of lighting tends to add drama to the portrait. Compare this with something bright and airy like clam shell lighting and you can see a distinct difference.
The triangle is important as it allows the photographer to create this dramatic short lighting effect and still put light on the eye that is on the shadow side of the face. This is the characteristic that brings it just a little back from being as dark and ominous as split lighting, which puts the entire side of the face in shadow. This can allow you as the photographer to convey exactly the kind of effect that you want.
SPLIT LIGHTING
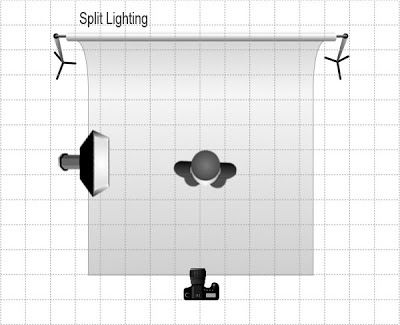
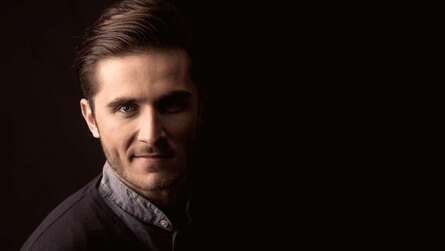
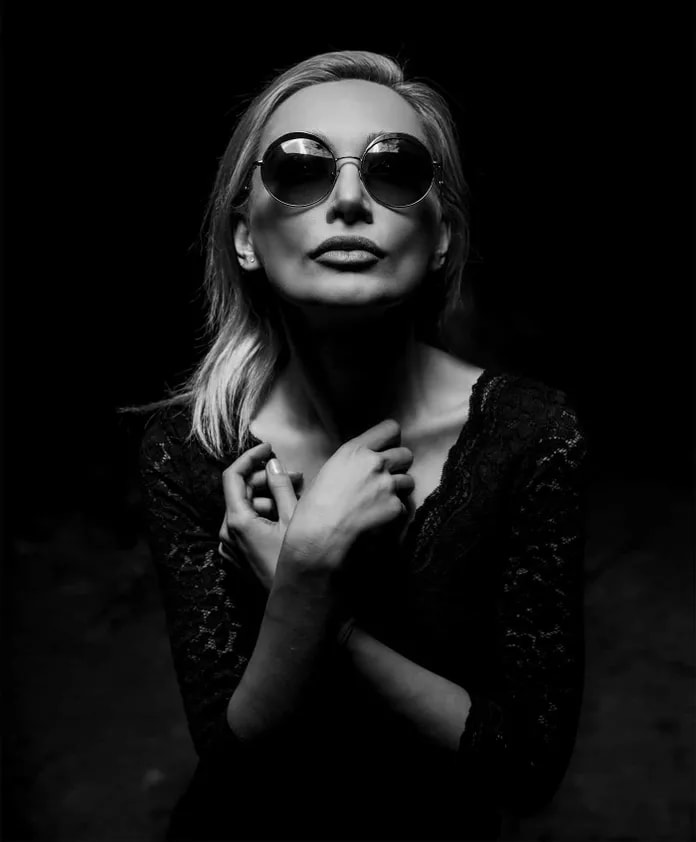
Split lighting involves “splitting” the face into two proportional halves, with one side being in the shadow and the other side being in the light. It can be done with a single light source, which makes it easy and inexpensive to execute even for beginners.
The light contained in the shadow side of your subject—particularly his eye—is called the catchlight. This adds to the impact of the image and draws the audience to it.
What is Split Lighting Used For?This lighting technique is ideal for a variety of purposes:
The light contained in the shadow side of your subject—particularly his eye—is called the catchlight. This adds to the impact of the image and draws the audience to it.
What is Split Lighting Used For?This lighting technique is ideal for a variety of purposes:
- Achieving a dramatic effect in portraits
- Fashion photography
- Commercial photography
- Adding variety to a set of themed portrait photos
- Making a broad face look slimmer
Butterfly Lighting
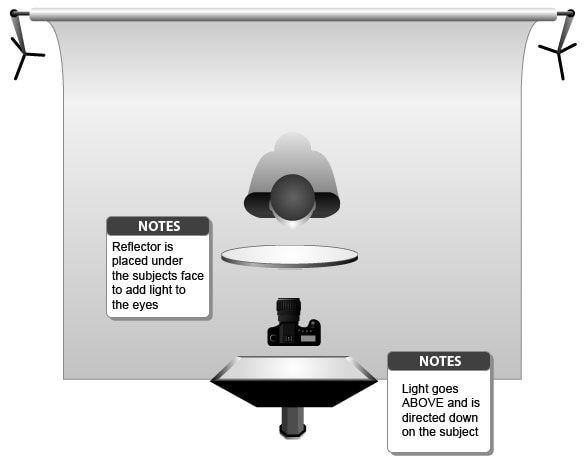
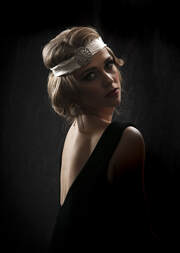
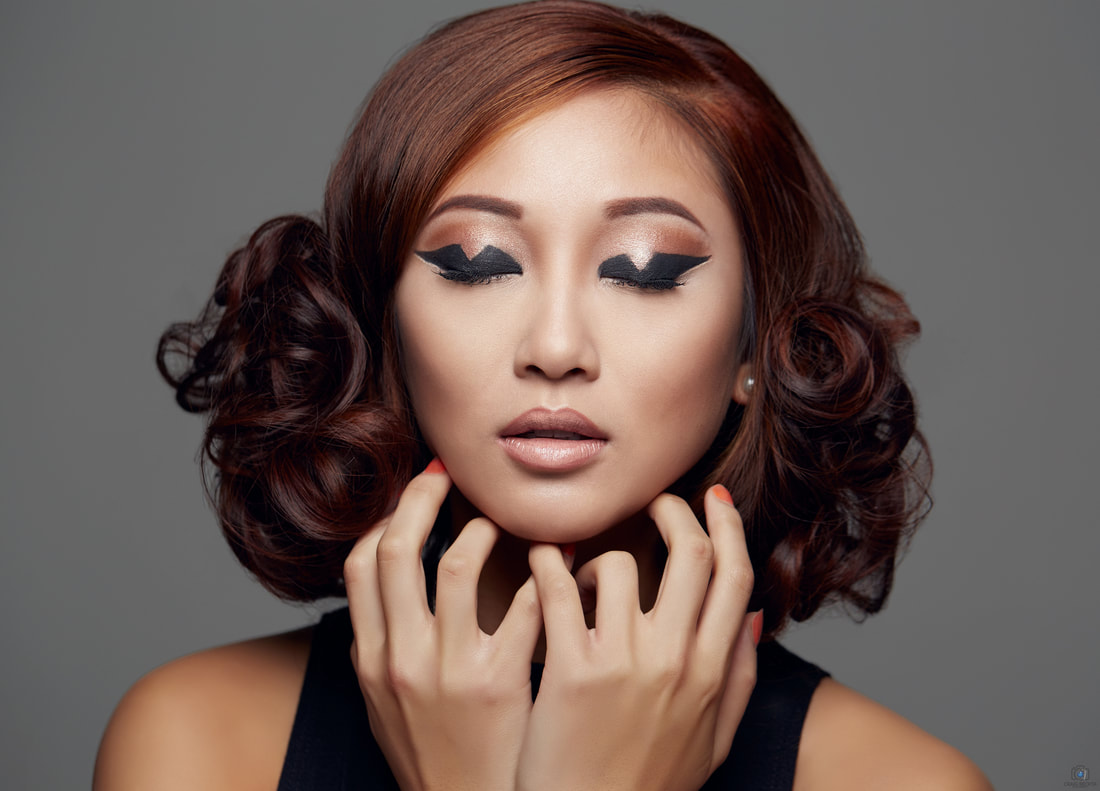
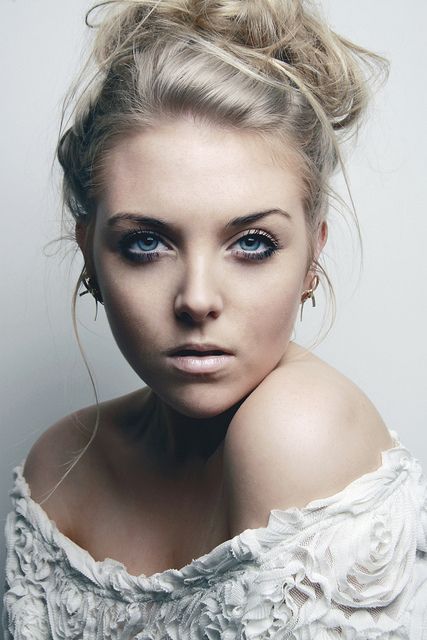
Butterfly Lighting is one of the most flattering and artistic ways of lighting the face. As it’s name would denote, Butterfly Lighting is created by the way in which you angle the light to fall on the face of your subject. Often used by celebrity photographers, this style of lighting can be achieved by a single off camera light and a reflector.
LOOP LIGHTING
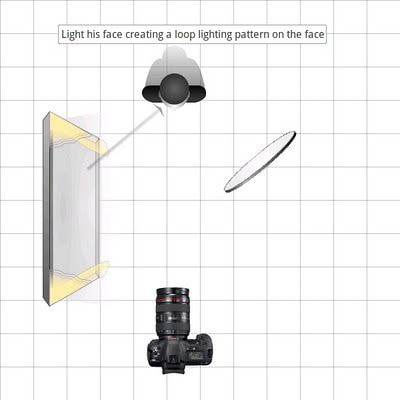
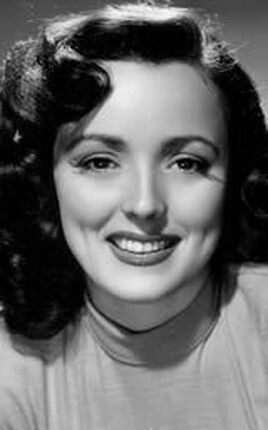
Loop lighting gets its name for the circle of light cast around your subject’s face. To achieve loop lighting, start with butterfly lighting and then move your light source slightly further to the right or left. Push it until a shadow appears on the opposite side of the nose, creating a li’l loopy (which was, unrelated to any of this, my nickname in college).
RIM LIGHT
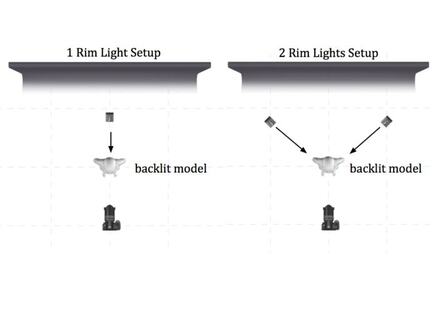
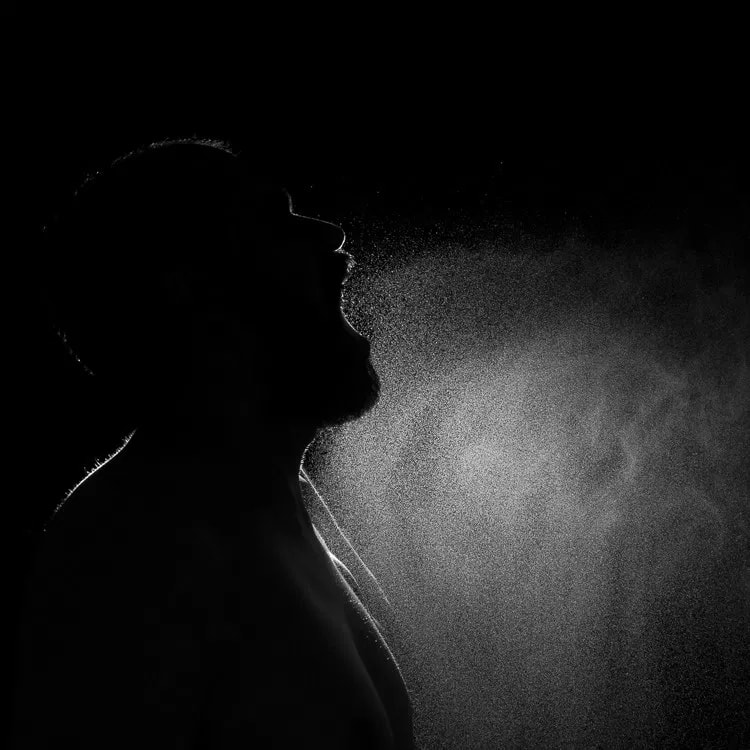
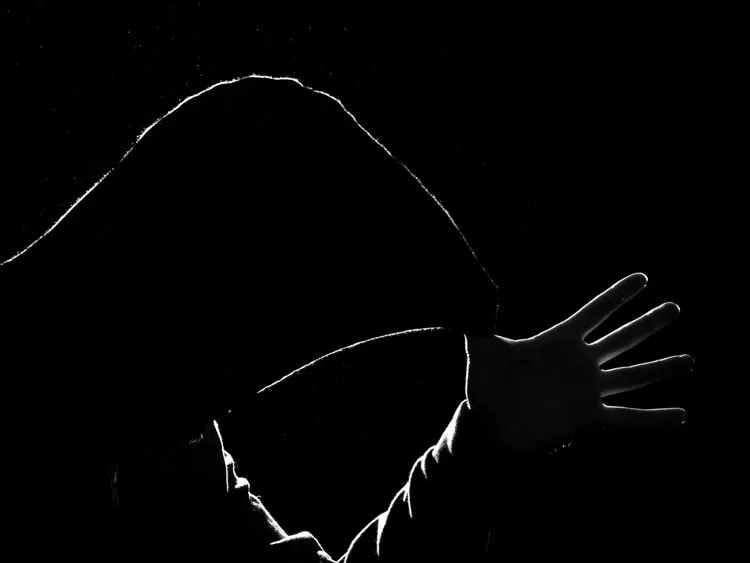
The setup is extremely simple. Just hide the flash right behind the model or the object, and point it back directly at the subject.
In practice, we could see the rim light as the opposite of a silhouette, where the subject is seen as a black shape against a brighter, often white, background. In the studio, the light setup for a silhouette is, in fact, the same of as that used to create a rim light, except that the flash is pointing at the background instead of at the subject.
In practice, we could see the rim light as the opposite of a silhouette, where the subject is seen as a black shape against a brighter, often white, background. In the studio, the light setup for a silhouette is, in fact, the same of as that used to create a rim light, except that the flash is pointing at the background instead of at the subject.
