START BY WATCHING ALL 5 OF THE LAURA PRICE VIDEOS
**LULUSKETCHES PHOTOSHOP TIPS**
Zoom out/in: Z
Move around canvas: Spacebar
Brush tool: B
Erase Tool: E
Undo: Command+Z
Undo multiple times: Command+Option+Z
Drawing straight lines: Hold down Shift
Rotate Canvas: R Image - Image Rotation - Flip Canvas Horizontal (I set this as a shortcut Command+Q)
Lasso tool: L
Transform: Command+T
Deselect: Command+D
Create a clipping mask:
Hold down Option key between layers (Look at my layer organization. I use clipping masks for everything! On versions of photoshop CS6 and later, you can apply clipping masks to entire groups. This means you can apply an overlay, filter, or entire adjustment layer to one group without merging the group first).My lineart layer group is set to “Multiply”
Paint big shapes quicker:
1. Paint the outline
2. Magic wand tool: W (select the inside)
3. Expand your selection: Select - Modify - Expand (I set this as a shortcut Command+O)
4. Paint bucket: G Adjust levels (darker/lighter): Command+L
Adjust color balance:
Command+B Adjust hue/saturation: Command+U Adjustment layers: use button shown on bottom of layer toolbar You can use adjustment layers as clipping masks! You can mask out part of an adjustment: CLICK the white box on your adjustment layer: now you’re working on just the mask. To make parts of your adjustment layer disappear, paint with black. To make them reappear, paint with white. Example: I created a LEVELS adjustment layer to make my characters darker. Ron turned out a little too dark, so I clicked the mask, selected black to paint with, and then painted parts of Ron with an airbrush. This brought him back to the color he was before applying the adjustment layer.
Create a glow: make a layer and set to “Overlay”
Make this a clipping mask (hold down option key between layers)
REALY GOOD ARTICLE ON CHARACTER DEVELOPMENT |
| ||
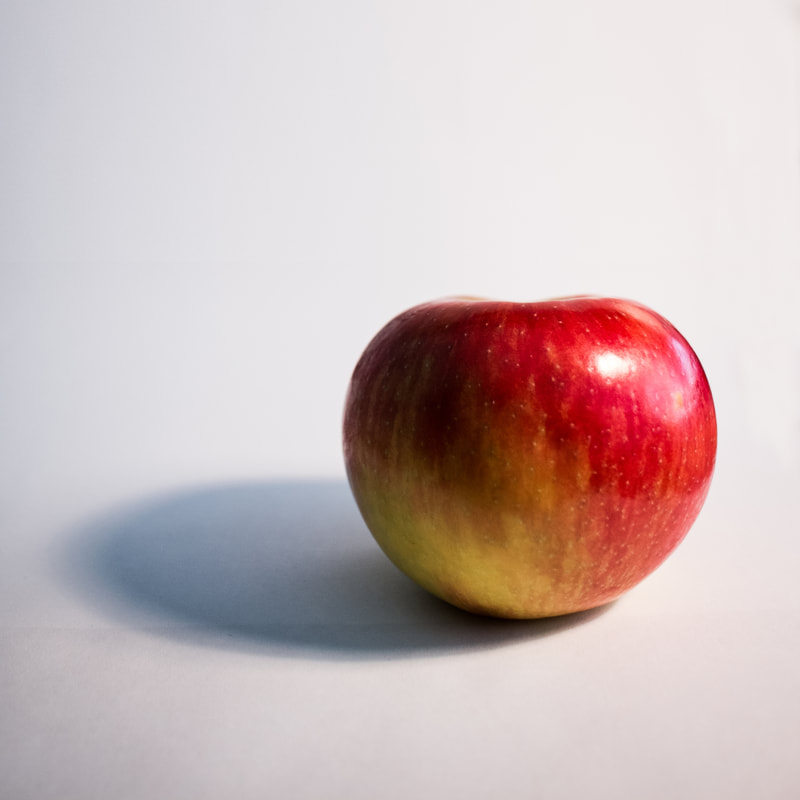
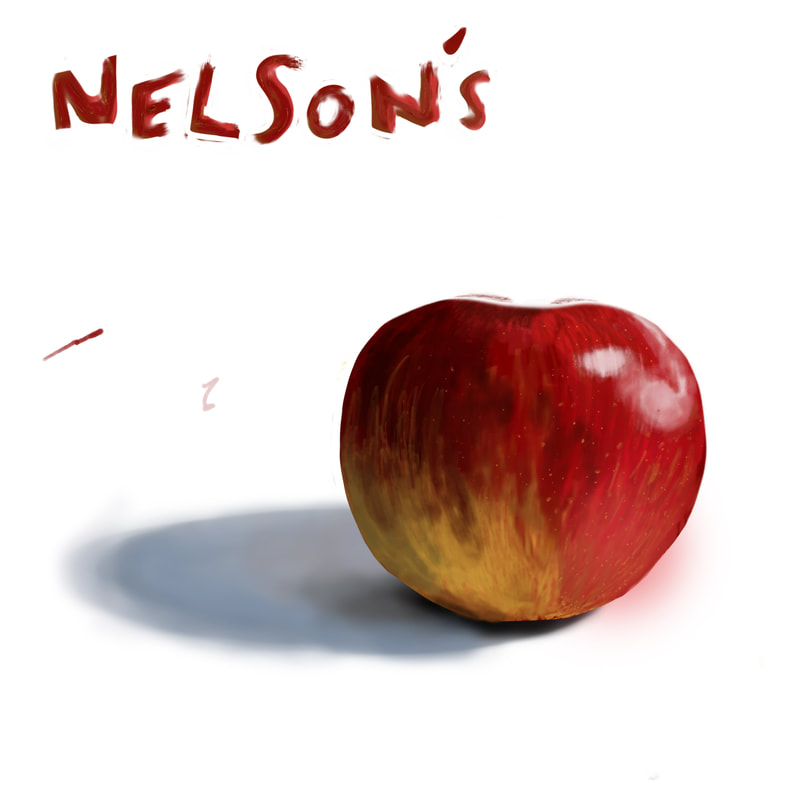
YOUR FORMATIVE ASSIGNMENT
You will be doing your best to draw this apple digitally. Using similar techniques as Laura did in her tutorials. Remember you get out of this what you put into it. This is a formative assignment so I realize this may be your first time doing this so my expectation is that you try your best, make mistakes, and don't give up!
- Since this is formative you should be spending somewhere between 1-2 hours on this.
- DO NOT SPEND 3-5 hours!!
- ON THE OTHER HAND this needs to take at least 1 hour.
|
|
YOUR SUMMATIVE ASSIGNMENT
2 OPTIONS
OPTION 1.
WHAT I AM LOOKING FOR!!!
OPTION 1.
- you upload a picture of yourself, a friend, your dog, etc. I just want this to be your own photo rather than something you snag from the internet.
- Using this as your base you can trace out the important / dominant features in photoshop.
- using the techniques in the video you will use photoshop to paint in the image
- you create your own character from scratch
WHAT I AM LOOKING FOR!!!
- LARGE FILE FORMAT!!!! Set your file up as a 8in x 10in file at 300 resolution!!!
- exaggeration. this shouldn't be an exact replica of the source image. Feel free to use the liquify effect in photoshop on your source image to help you make some alterations.
- LAYERS!!!!!! As you saw in the tutorials this should be done in multiple layers so that you are working additive not subtractive. You will need to submit a .jpg and a .psd file.
- a variety of brushes and values being used to create depth and shadows (not flat looking)
- Really look at where the shadows are at in your references.
- texture
- cleanliness - there are not colors and lines all over the place for no reason
- intentional color pallet
- craftsmanship - you spent at least a week in class working on this and refining.
- a background of some sort it can be a fully developed setting, a gradient, a pattern etc. JUST DONT LEAVE IT FLOATING
