Ugly Places, Pretty Portraits

|
I get it you are sick of taking photos in the school but by using your imagination with a few simple composition techniques and camera skills you can do pretty amazing things. Check out the article by clicking on the image bellow.
|
>>RULE OF THIRDS<<
|
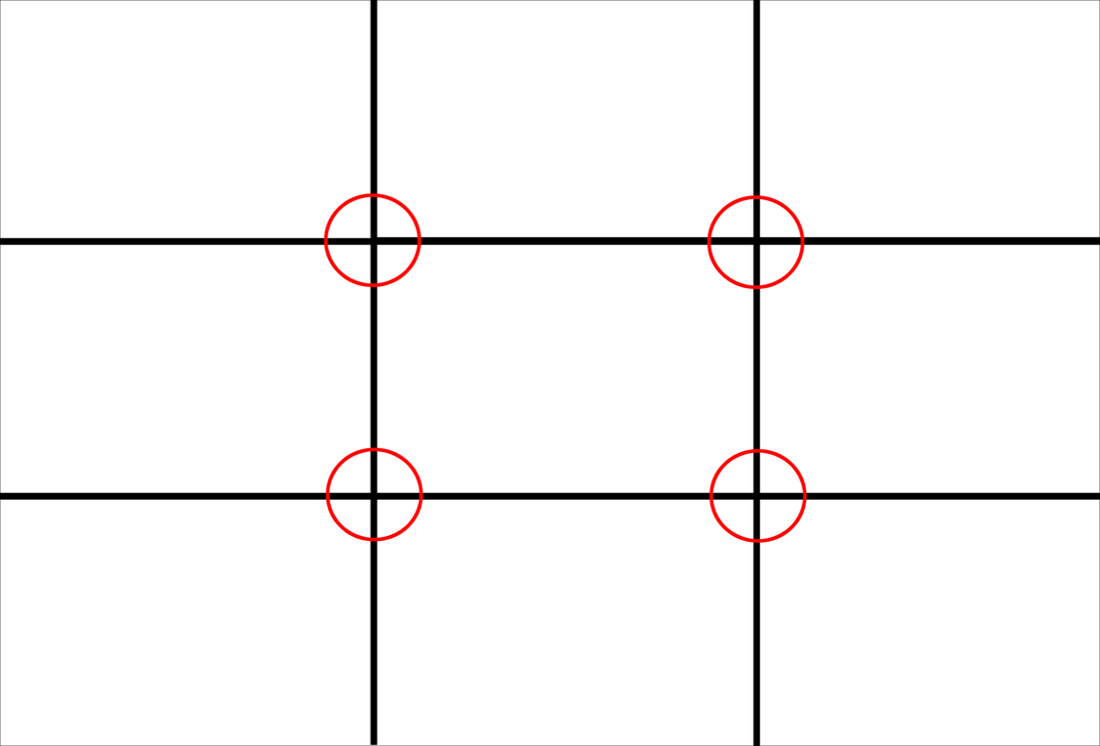
The basic principle behind the rule of thirds is to imagine breaking an image down into thirds (both horizontally and vertically) so that you have 9 parts.
With this grid in mind the ‘rule of thirds’ now identifies four important parts of the image that you should consider placing points of interest in as you frame your image. Not only this – but it also gives you four ‘lines’ that are also useful positions for elements in your photo. |
|
|
The theory is that if you place points of interest in the intersections or along the lines that your photo becomes more balanced and will enable a viewer of the image to interact with it more naturally. Studies have shown that when viewing images that people’s eyes usually go to one of the intersection points most naturally rather than the center of the shot – using the rule of thirds works with this natural way of viewing an image rather than working against it.
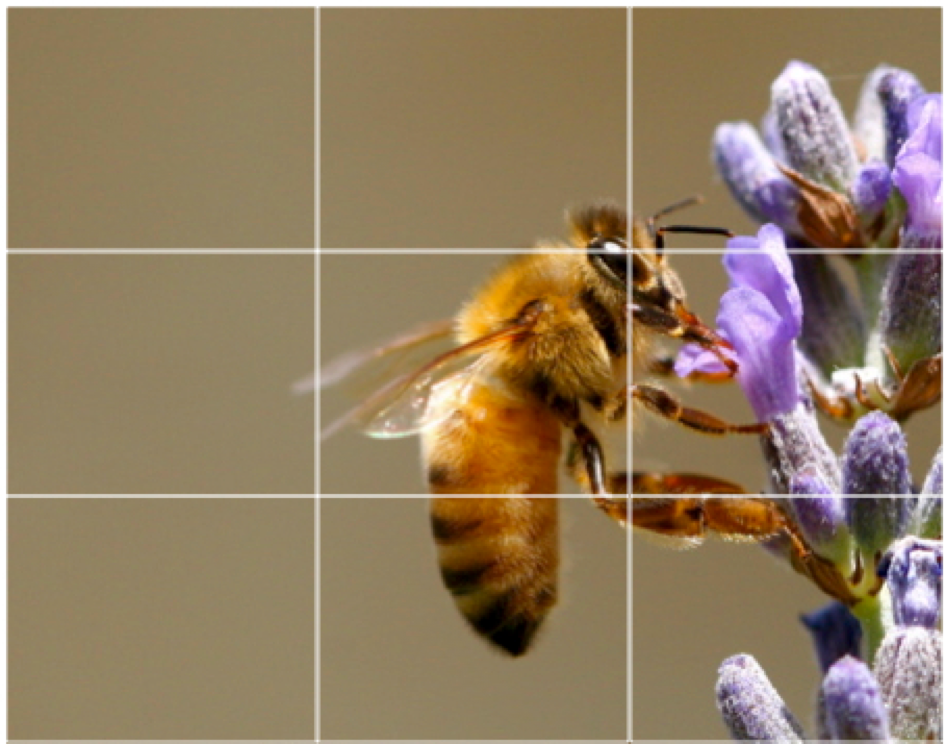
In this picture of the bee , the bee’s eye becomes the point of focus. |
|
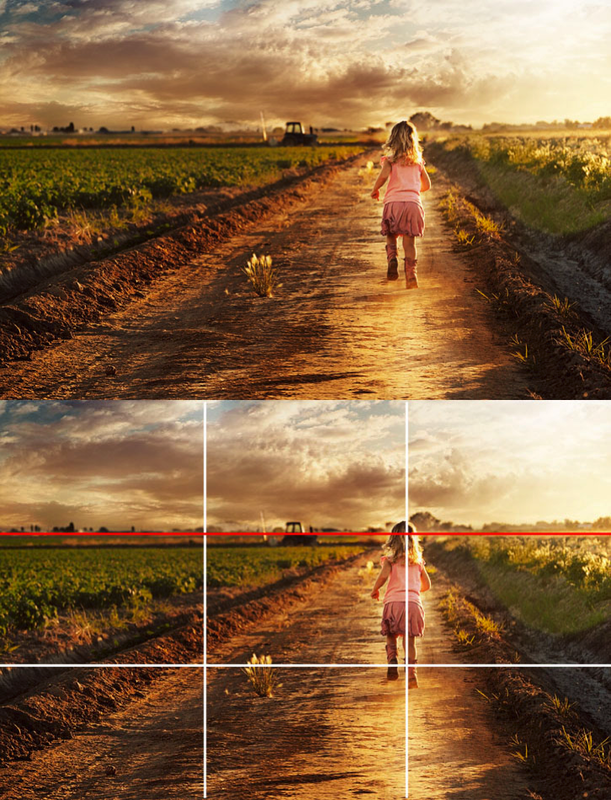
In this shot the subject is placed along one of the lines which means she is considerably off center and therefore creating the point of interest. Placing her right in the center of the frame could have potentially resulted in an ‘awkward’ or less interesting shot.
|
|
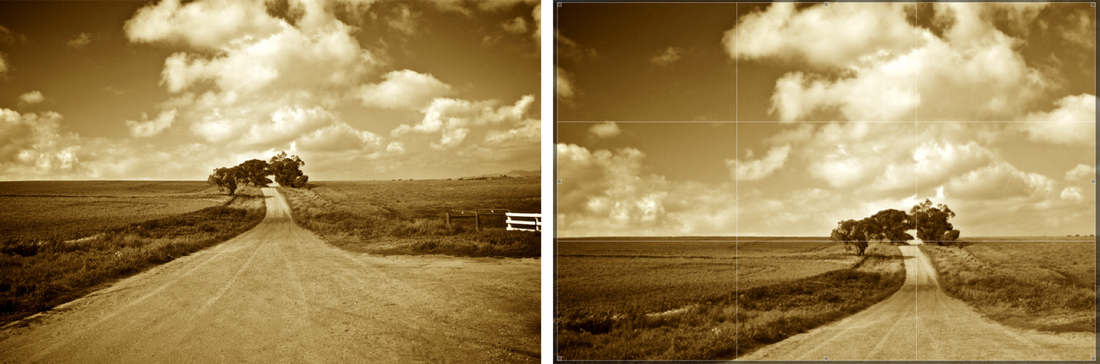
Keep the rule of thirds in mind as you edit your photos later on.
Post production editing tools today have good tools for cropping and reframing images so that they fit within the rules.
Experiment with some of your old shots to see what impact it might have on your photos.
Post production editing tools today have good tools for cropping and reframing images so that they fit within the rules.
Experiment with some of your old shots to see what impact it might have on your photos.
|
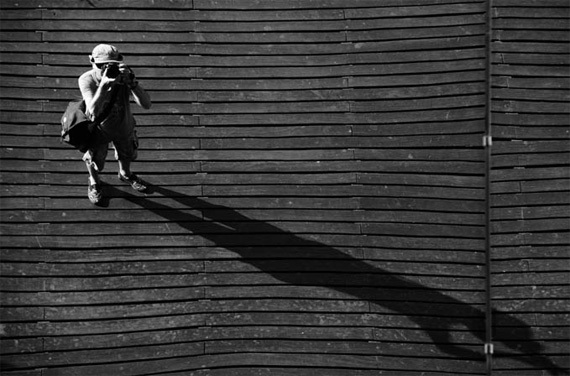
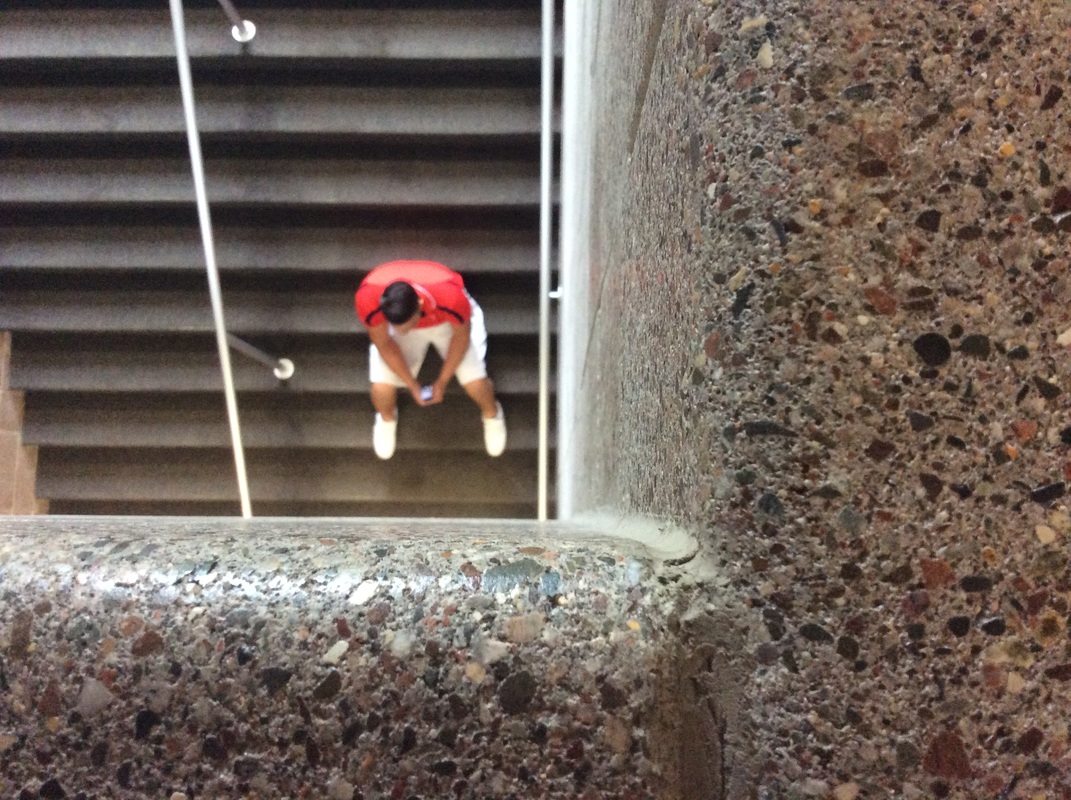
Edge Framing:
Instead of the more expected bulls-eye placement, photograph your subject all the way to one side or another of the frame. Remember that there are 4 sides available for edge framing (right, left, top and bottom). Try actually cutting the subject “off” with one or more edges to control what the viewer will see. |

|
|
Directional Line:
This forces the viewer’s eye to start at one end of the photograph and move to another end, as in diagonal or converging lines. Keep horizontal and vertical planes straight if you want to reflect reality (in other words, don’t tilt the camera to create diagonals). Because we “read” from left to right, “down” left and “up” right is sometimes said to be better (going up instead of going down)— you decide! |

|
|
Tight/ Close Shot:
“If your pictures aren’t good enough, you’re not close enough”—Robert Capa. Try photographing just part of your subject (detail) to represent the whole. Merely moving closer can greatly improve many photographs but be aware that your lens will not focus on anything closer than 18”-- 24” (one and a half to two feet). |

|
|
Dominant Contrast:
Your subject will stand out if it contrasts in texture and/or tone with the background or other elements in the picture. Choose a background, or position your subject, so as to create emphasis |

|
|
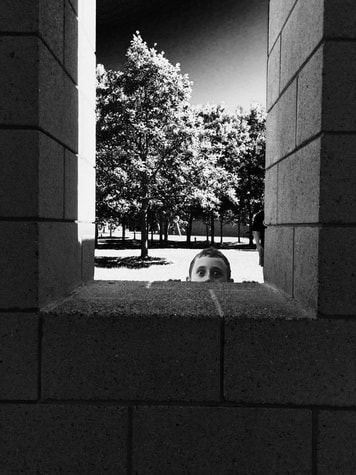
Frame Within A Frame:
Some subjects provide a natural framing device, i.e., windows, doorways, alleyways, tree formations, etc., that will enhance the dynamic of an image. |

|
