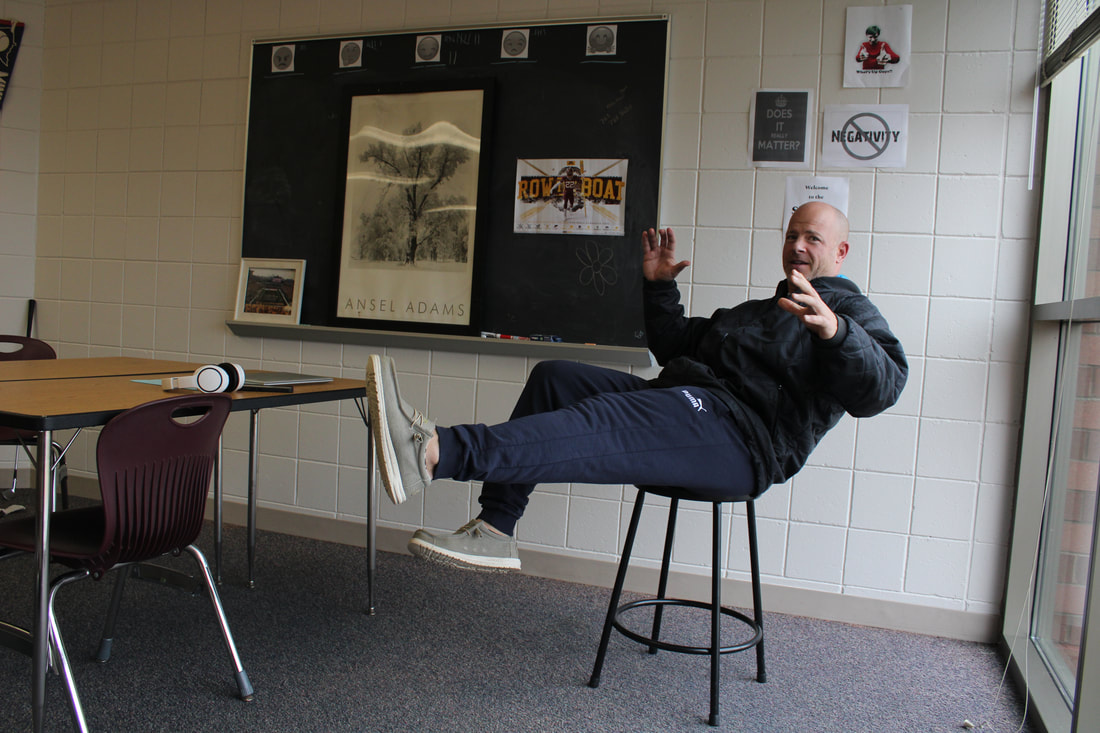
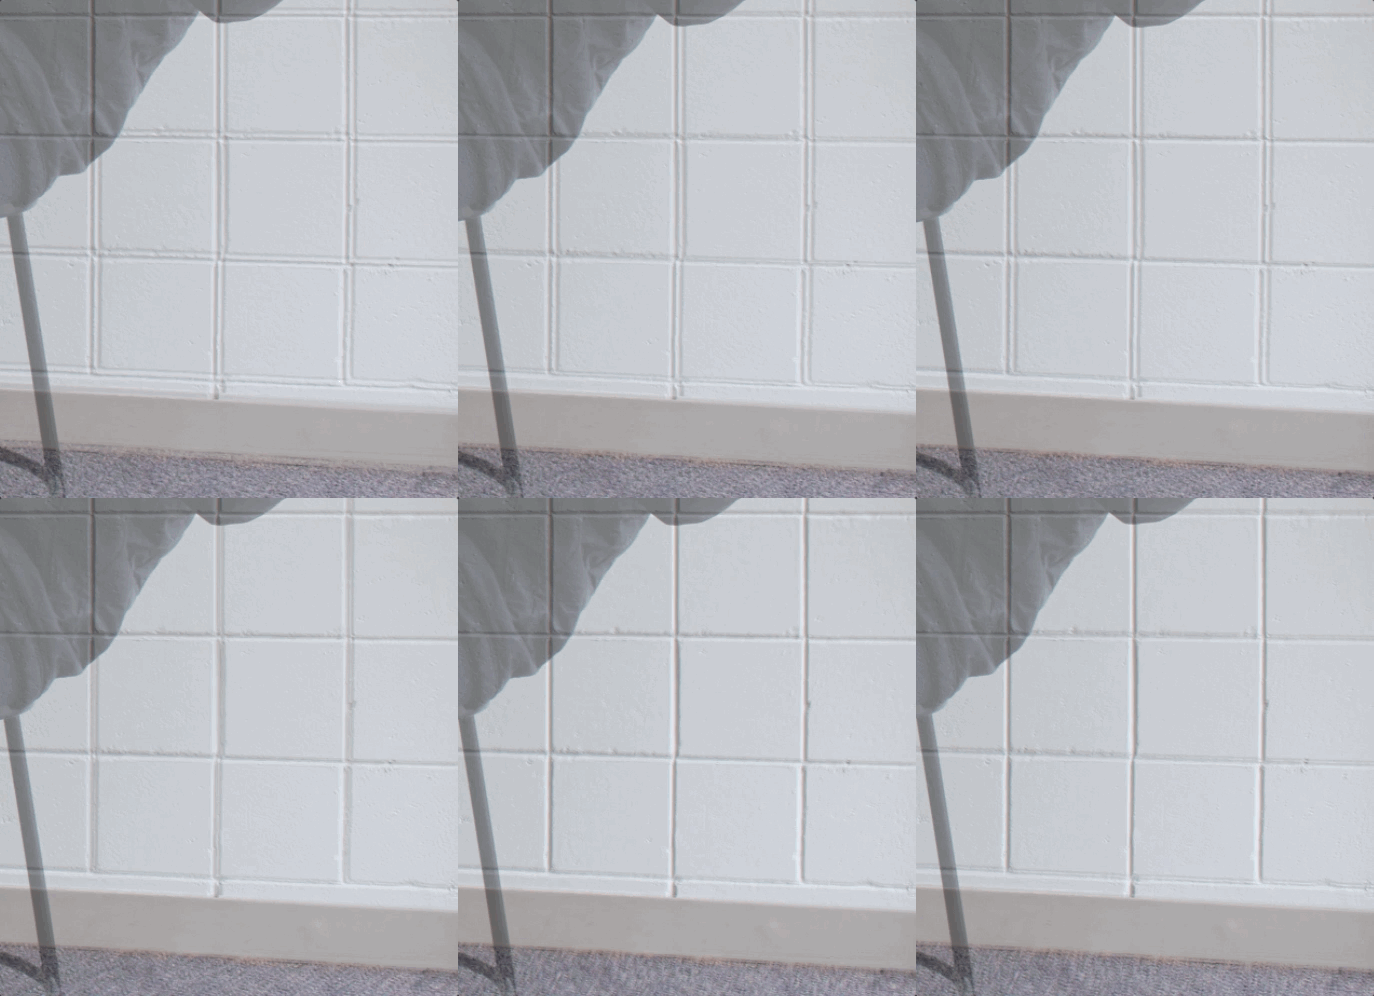
Ever wonder how you could levitate yourself easily using Photoshop? In this tutorial, I will show you how to do just that. All you need is a digital camera, tripod, and something to sit on.
STUDENT EXAMPLES
|
|
|
INTERNET EXAMPLES
HOW TO DO IT!
1. TAKING THE PHOTOS
TIPS AND TRICKS
TIPS AND TRICKS
- TRIPOD TRIPOD TRIPOD - You must use a tripod to make sure the photos are identical so you can layer them
- Don't Forget to take out the stool / chair when taking your background photo
- Over exaggerate that you are floating, levitating, etc.905 of the time if you just stand on the stool it wont look like your levitating.
- Do Not use the Flash
- Be at eye level or lower to your subject when taking the picture to highlight levitation
2. EDITING AKA MAGIC!
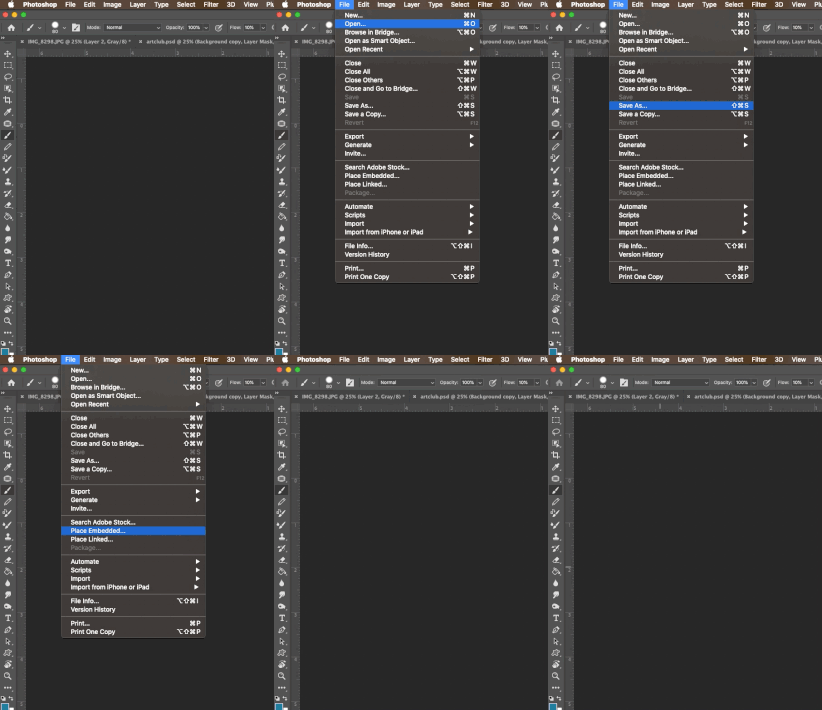
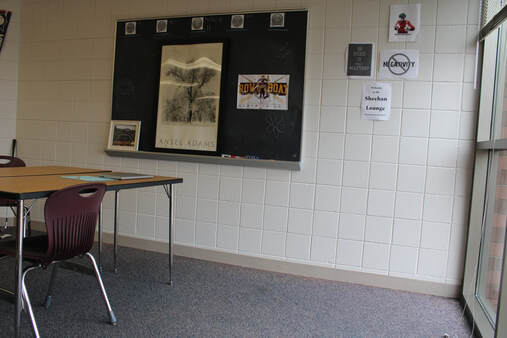
3.Locate your two levitation photos in the j drive. One empty background (NO CHAIR) and one with your model sitting on the chair. . Import the background first (no model). You will need to hit enter to confirm where you want the photo to be placed before it will let you place the second photo.
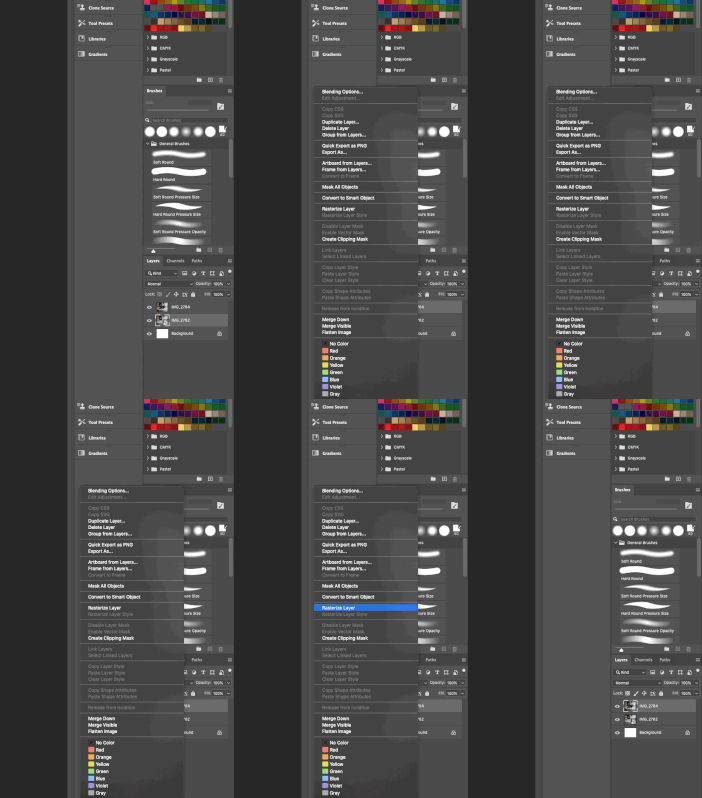
2. Now do the same with the second photo (with model) on the Photoshop canvas, then right-click the new layer and choose Rasterize Layer.
Tip: Make sure you are using a tripod, when creating your own photos. For this effect, you’ll need two photos: One of an empty scene and one of the same scene with a person posed on a stool or a chair. Use Manual camera mode so that settings like exposure and white balance stay consistent between both photos.
Tip: Make sure you are using a tripod, when creating your own photos. For this effect, you’ll need two photos: One of an empty scene and one of the same scene with a person posed on a stool or a chair. Use Manual camera mode so that settings like exposure and white balance stay consistent between both photos.
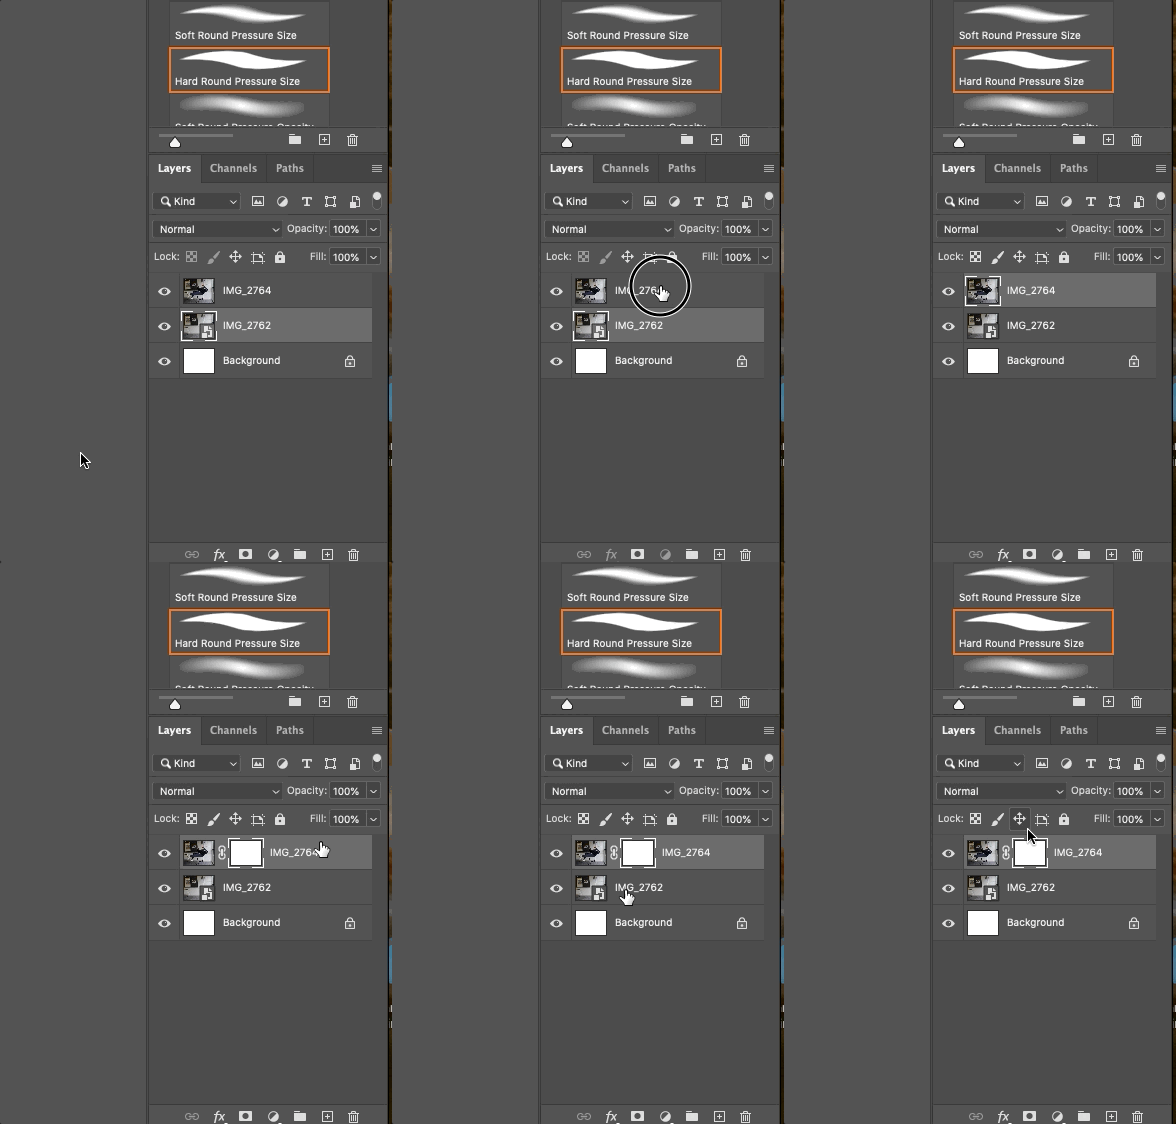
3. With the layer "Photo 2, scene with model" selected, click Add vector mask at the bottom of the Layers panel. The outline around the white mask thumbnail indicates, that the mask – not the image – is now selected for editing.
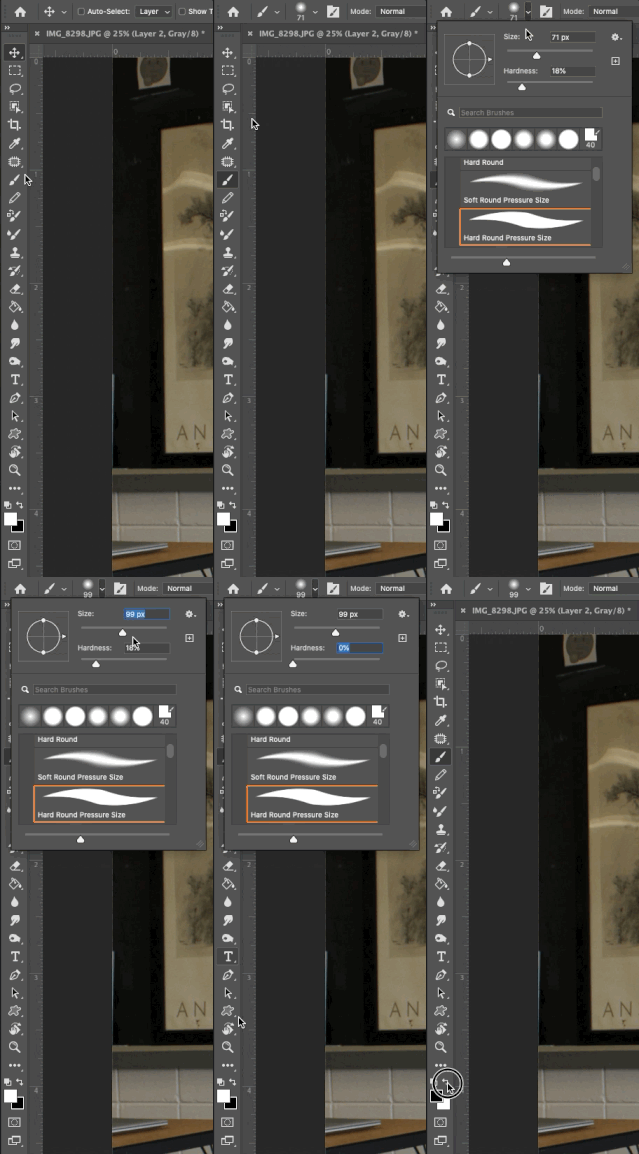
4. From the toolbar on the left select the Brush Tool.
5. Make sure that the brush size is set to 100 px and hardness is set to 0%.
6. At the bottom of the toolbar click on the double arrow to set the foreground color to black.
Tip: When a layer mask is selected for editing you can chose between black and white color only. Painting in black will Black color will make the image disappear while painting in white will make the image come back.
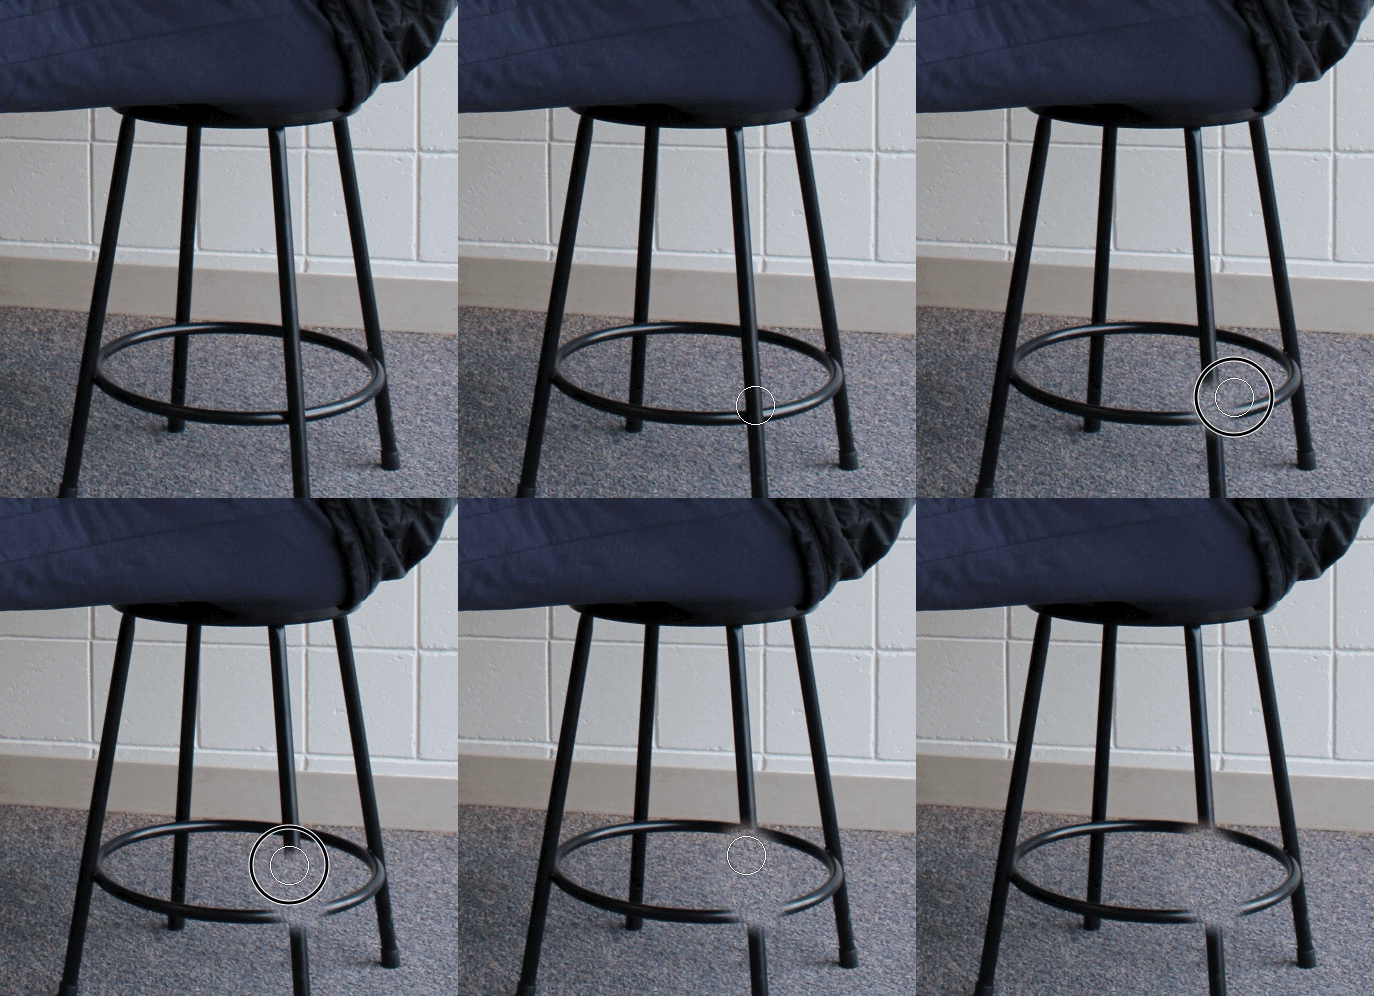
7. Paint over the legs of the stool to reveal the empty scene layer below. To do smaller areas try zooming in, adjusting the brush size by using the brackets and adjusting hardness of the brush as needed.
8. In case you have "erased" part of the skirt by accident you can make it visible again by simply changing the brush foreground color to white and drawing along the skirt. This will remove transparency of the top layer again.
9. Use the Zoom tool (magnifying glass) from the toolbar to zoom in for more accuracy on the edges.
9. Use the Zoom tool (magnifying glass) from the toolbar to zoom in for more accuracy on the edges.
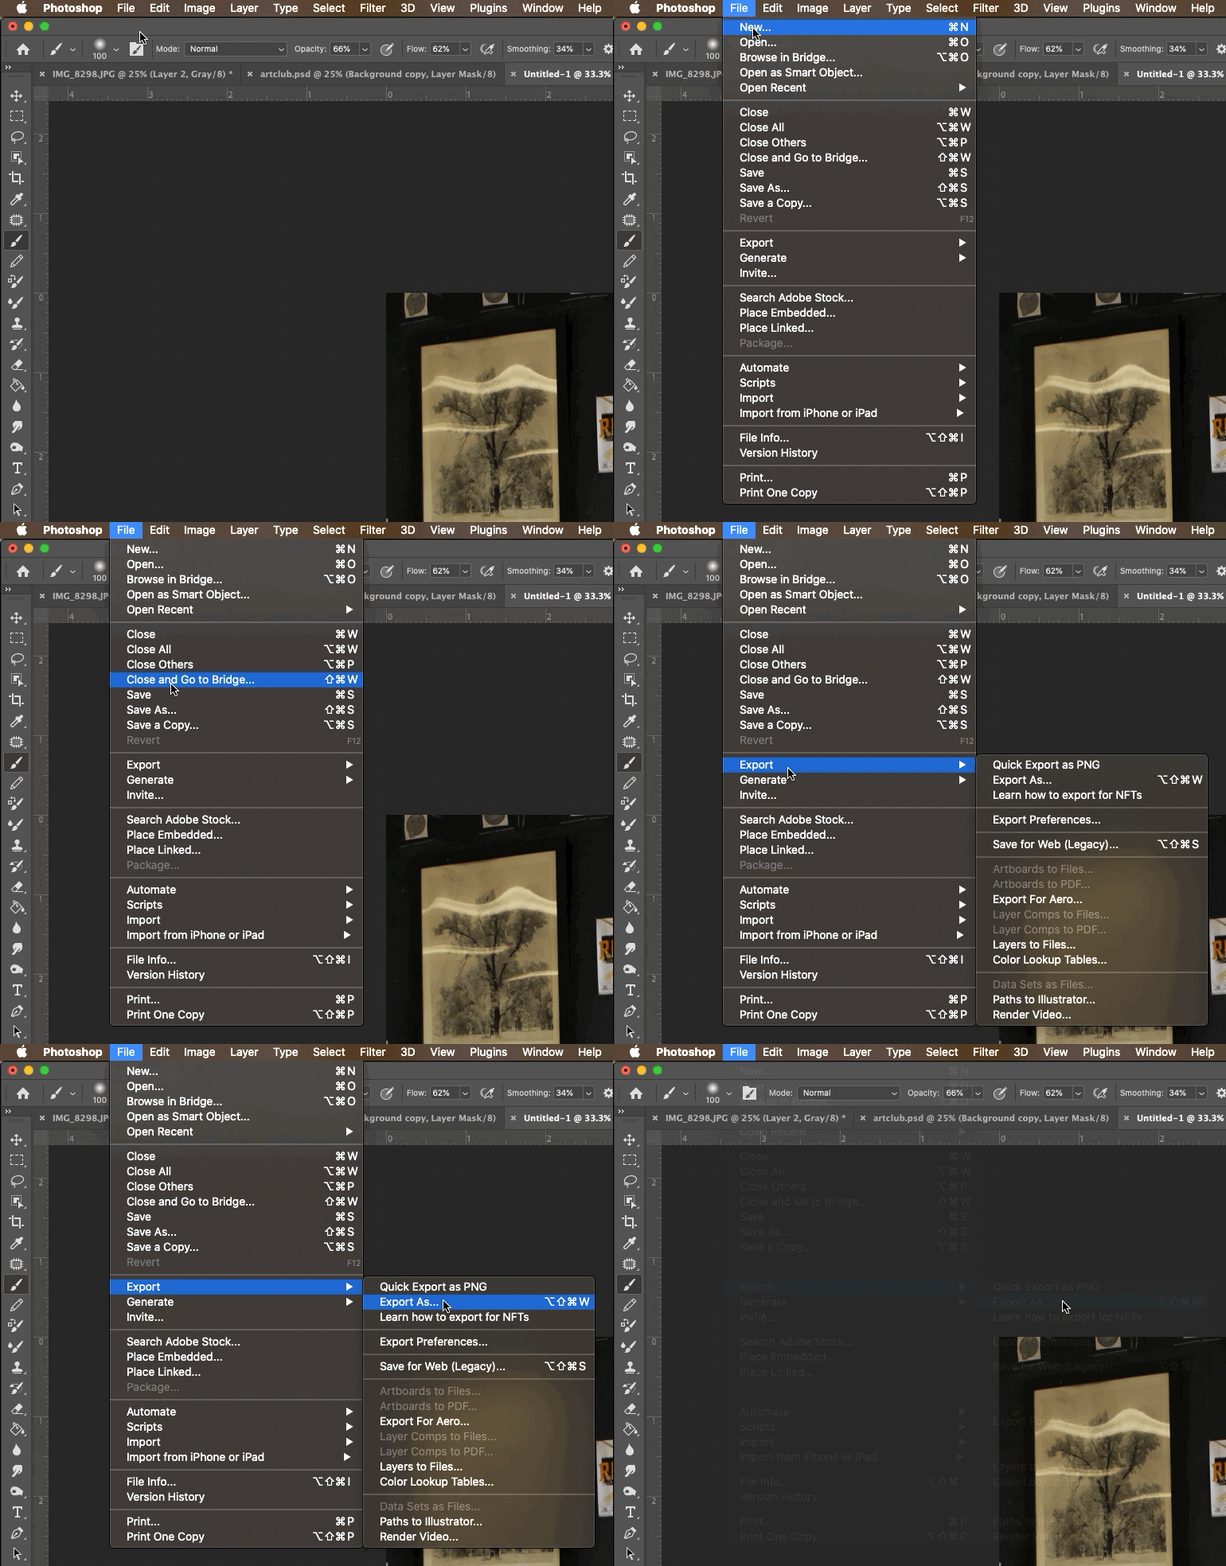
10. When you are happy with your magic you will need to save as a .jpeg so you can submit to schoology. In your menu bar (at the top of your screen) select "file" then click on "export" then "export as" you will be exporting as a high quality .jpeg. Save in your j drive folder, then submit
TIP FOR WHEN THINGS DON'T LINE UP
1. If you notice the two images don't line up click on your model layer and decrease that layers opacity to 50% so you can see through it.
2. Zoom in and use the arrow keys to do micro adjustments until the two images are perfect.
1. If you notice the two images don't line up click on your model layer and decrease that layers opacity to 50% so you can see through it.
2. Zoom in and use the arrow keys to do micro adjustments until the two images are perfect.
TIP FOR WHEN COLORS DON'T MATCH BECAUSE OF SHADOWS
1. Find natural lines to hide your inconsistencies in shadows. Make your masking lines along transition like where the floor and wall meet, windows etc. You can even use your subject. In the picture below I removed everything in red to create a more natural look.
2. When painting in your mask along straight lines instead of going slow and trying to perfectly draw a line try holding down shift and click the beginning of the line and then click where you want the line to end. Holding down the shift and clicking will give yo a straight line every time.
TIPS FOR ADDING SHADOWS
1. use a soft brush and paint in the shadows with 100% black
2. switch your blending layer to overlay
3. adjust your layer opacity to find a happy shadow that looks natural
1. use a soft brush and paint in the shadows with 100% black
2. switch your blending layer to overlay
3. adjust your layer opacity to find a happy shadow that looks natural

